Scheduling Posts in Advance
Queue posts ahead of time and manage publication dates from the calendar.
Open Loompify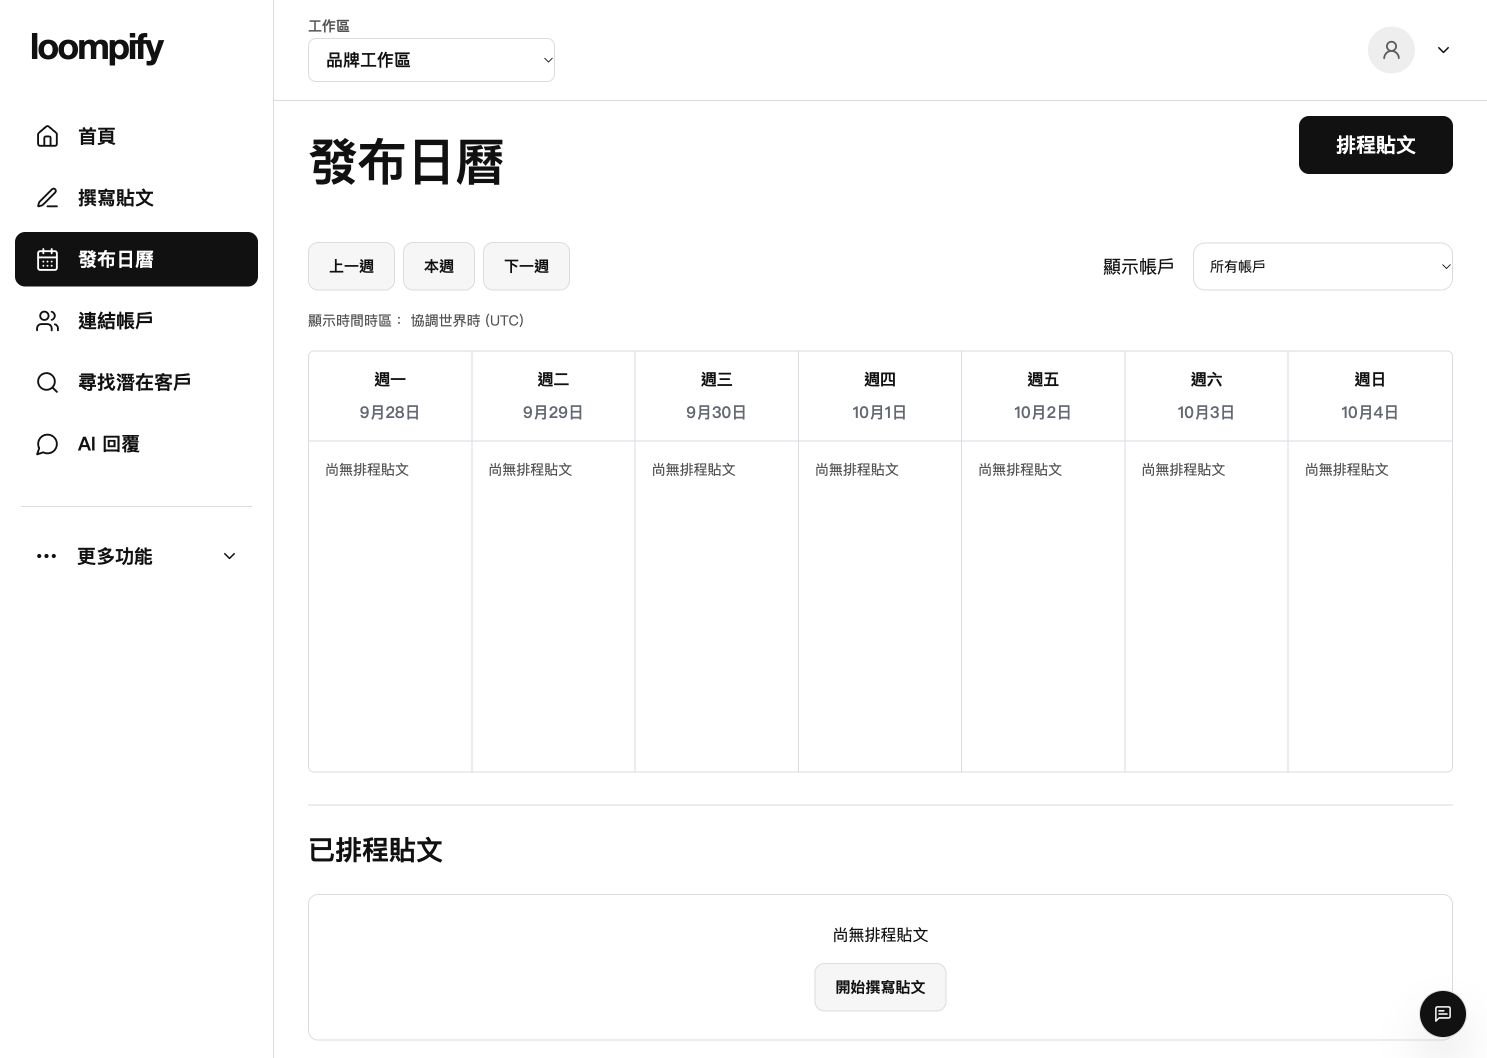
Before you start
A global or account pause in Settings stops future scheduled releases but cannot stop posts already sent or currently being processed.
Step-by-step instructions
Prepare your post in Create
Open Create from the sidebar, write your post content, and select your target connected account.
Choose publication date and time
Select a future date and time for publication according to your workspace timezone.
Add post to schedule queue
Confirm your schedule settings to place your post into the queue.
Manage queued posts in Calendar
Open Calendar from the sidebar and use Manage post to view, reschedule, or cancel scheduled items.
Schedule troubleshooting
If a scheduled post fails to release, verify in Accounts that your social profile connection is active and authorized.
Need help? ↗Updated